*DIY* NO Sew Pillow


This was such a fun little project that really JAZZED up my front porch!
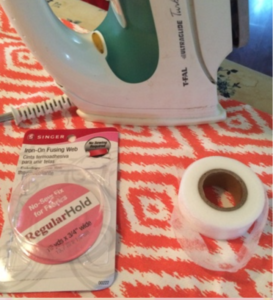
Items you will need:
Napkins
Iron-on fusing web
Iron & ironing board or even a towel on a table top
Safety or straight pins
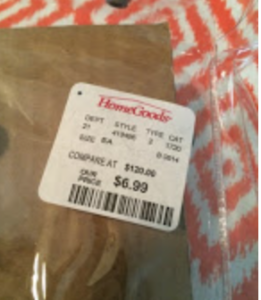
I scored big time $6.99 for 6 napkins!
(that’s about $2 per pillowcase…yippy!)
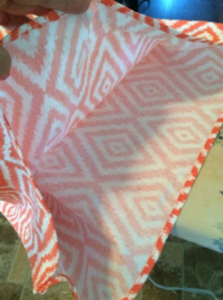
First do a once over the napkins to smooth out any creases, believe me, it makes things much easier!
Then measure out the fusing tape along the inside seam of the napkin.
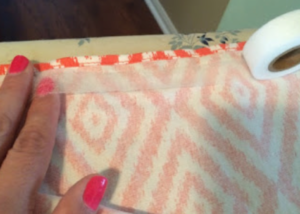
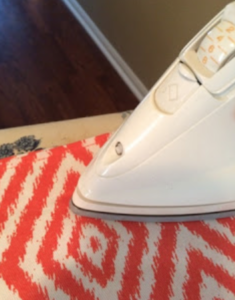
Lay the second napkin over the napkin with the fusing tape, then iron. I used the heating setting as suggested for the fusing tape.
Repeat for three sides, leaving one side open to stuff!
By the way, I double scored because I only paid $3 for this performed, pre-stuffed pillow (thank you Ikea!), which fit perfectly those square napkins I had purchased. disclaimer: when I say “I had purchased” I mean like last summer. somehow they made it to the back of my DIY closet ideas (yes I have a closet….don’t judge me!)
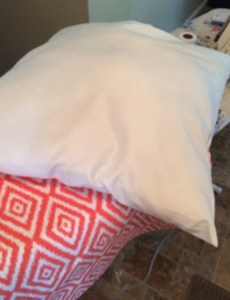
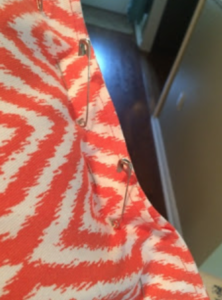
Stuff the pillow into the opening. This part can be tricky, I decided to use safety pins to help hold the last remaining opening so that I could easily line up the fusing tape and then iron it together, completing the pillow. *tip* keep pins in place until the iron fused tape is completely cooled and you have given it a slight tug to make sure it’s going to stay. Then remove those pins!
The finished product is a wonderful POP of color on my front porch. Disregard the very warned out chair (that’s yet another project for the upcoming fall!)
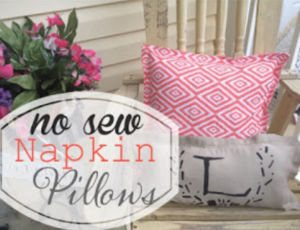
The monogrammed napkin pillow was a linen napkin I folded in half and fused together with the iron on fusing tape as well. Then I had some black craft paint and a sponge brush sitting around and I got creative, which literally took me all of 5 minutes to make!
Happy DIYing!